Testa Wetail Shipping riskfritt!
Modern frakttjänst. Designad för WooCommerce.
iZettle Installation guide
Installation
System requirements
| Requirement Minimum | Minimum | Recommended |
|---|---|---|
| PHP | 7.1 | 7.1.5 |
| PHP cURL extension | Unknown | latest w/ OpenSSL |
| MySQL | 5.6 | latest |
| WordPress | 4.0 | latest |
| WooCommerce | 3.0 | latest |
| WP memory limit | 64 MB | 128 MB or higher |
Downloading and installing the plugin
After you have obtained the plugin .zip file (the filename should be woocommerce-izettle.zip) you have to upload and activate the plugin in your WordPress admin area.
- Go to your WordPress admin area plugins page
- Press ”Add New” in the top left corner.
- Press ”Choose File”, and select the plugin zip file that you have obtained.
- Press ”Install Now” and the installation will begin.
- When the installation is complete, press the ”Activate” button on the plugin.
Getting a license key
To be able to use the plugin, you will have to purchase a license key from Onlineforce. You can obtain a license key on the Onlineforce marketplace:
https://www.onlineforce.net/integrationer/woocommerce/izettle-integration
After your purchase, you will receive an e-mail with the license key.
Connecting to iZettle
The next step is to connect your WordPress site to the iZettle API. This is done from the plugin settings page.
The plugin must always have a valid connection to the iZettle API. You can view the current connection status in the plugin settings page.
When you first install the plugin and press the ”Connect to iZettle” button, a new tab opens in your browser asking you to either sign into your iZettle account, or if you are already signed in, to approve the permissions that the integration needs.
When you approve the integration, an access token is retrieved and saved to your WordPress site. This access token is used for all further communication with iZettle, until it expires, which is usually two hours after the access token was retrieved. The plugin will automatically request a new access token if the previous one has expired.
Getting started
The plugin settings page
The plugin settings page is located in the left menu under WooCommerce – iZettle. The settings page is structured as different tabs, where you define how each part of the plugin works.
The plugin has several features that you can enable and disable at your will. You can, for example, choose to only sync product stock just before viewing a product with the Inventory module, or go all in and let the plugins scheduler sync the inventory in the background if you enable the ”Cron / interval fetching” module.
The first section under the general tab is where you enter your plugin license key, and connect to iZettle.
If both the license key field and the iZettle API connection button is green, your site is connected and you are ready to use the integration.
Login
To login press the ”Click to connect”-button.
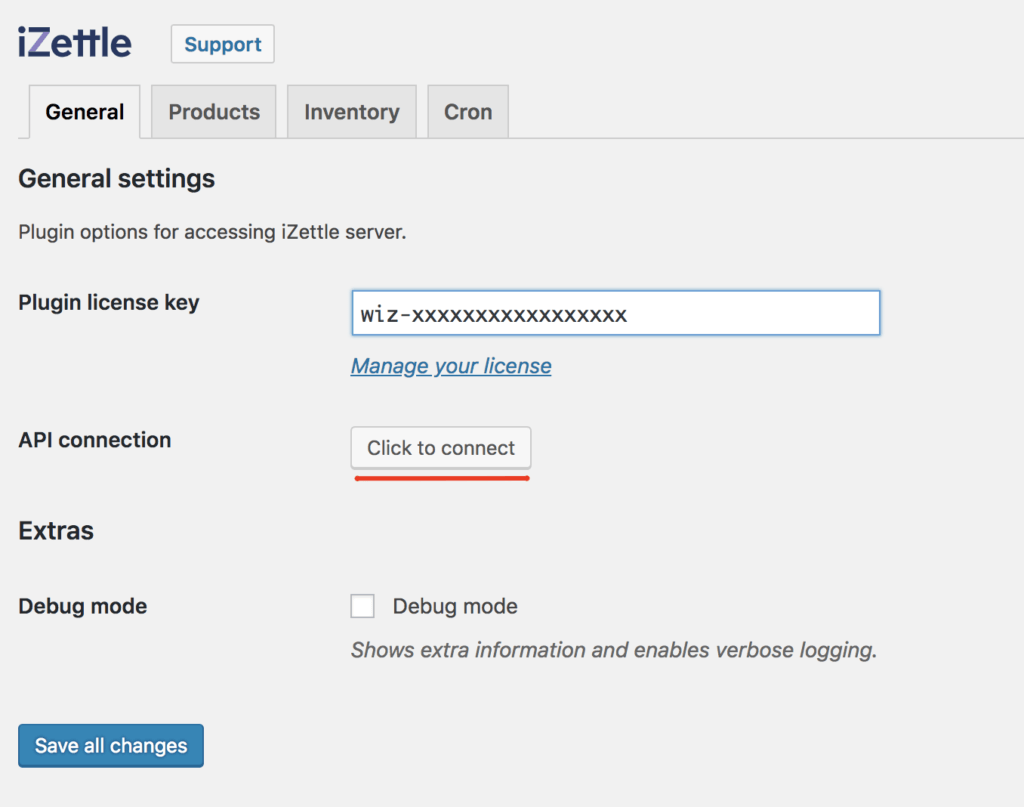
Now you will be redirected to iZettles login page for third party integrations.
Login to your iZettle account with your iZettle-credentials.
After login you will be prompted with the permissions to give to plugin. Press ”Approve”
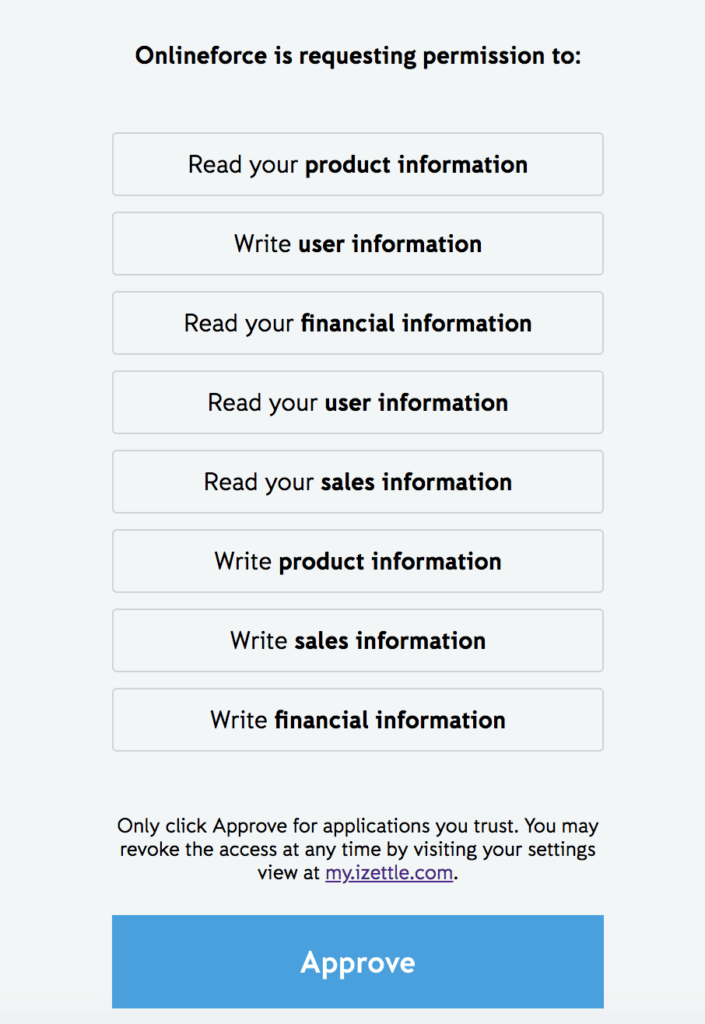
Now you will be redirected to iZettle plugin settings again.
Do not press ”Save” as this will clear all authorization data.
Reload the page.
Syncing products from WooCommerce to iZettle
You can either synchronize one product at the time or synchronize from a product list.
There is also a function for synchronizing all products at one time.
Please keep in mind that if there are products in iZettle and no synchronization from WooCommerce has been done before a new product will be created in iZettle. This can lead to duplicates in iZettle
If you already have products in iZettle you can ”match” products in WooCommerce and iZettle by SKU(Articlenumber).
This will prevent duplicates.
Bulk sync
We understand that this is a tedious process, but you can do the same thing from the plugin settings page under the ”Products” tab. You can trigger a bulk-sync of all your WooCommerce product to iZettle by pressing ”Sync all WooCommerce products to iZettle”.
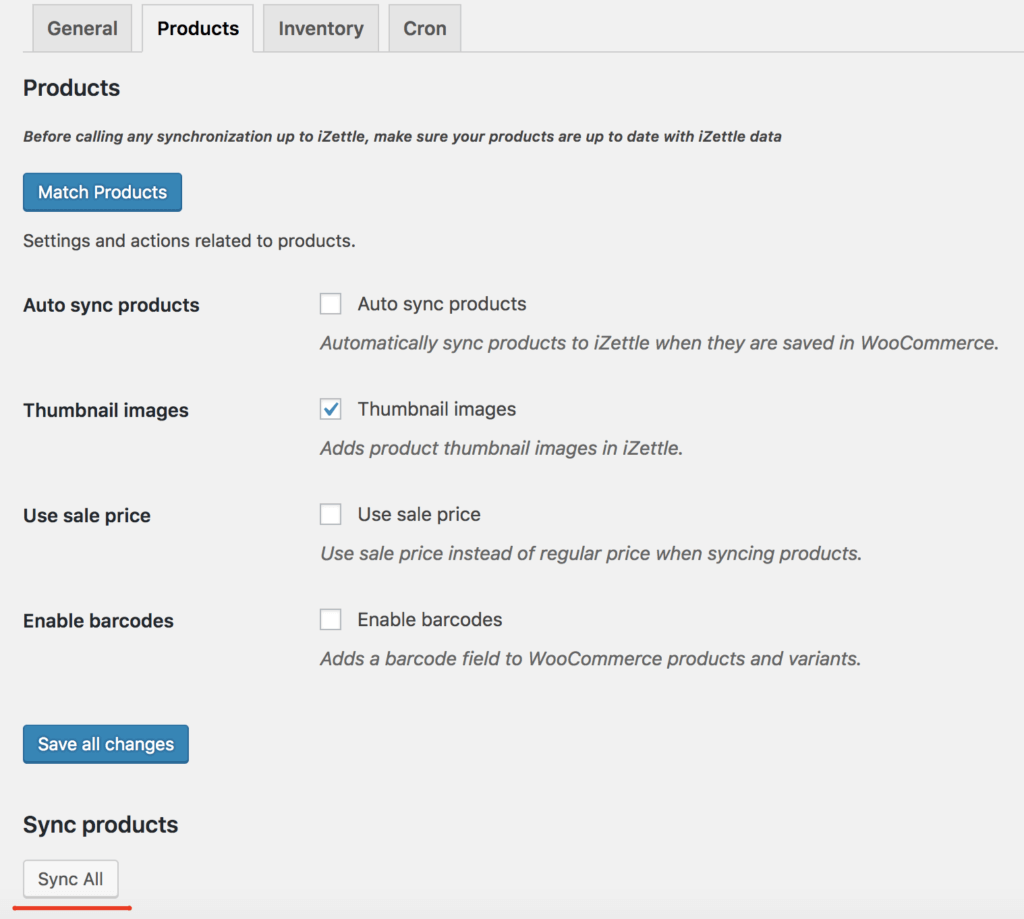
Products table
Here, you can see the current sync status for each product, and you can manually sync or update each product to iZettle.

Automatic sync WooCommerce to Izettle
You can also enable auto syncing of products. If this option is enabled, the plugin will automatically sync a product to iZettle as soon as it is saved in WooCommerce. Only products / variants that have been synced previously will be automatically synced when saved.
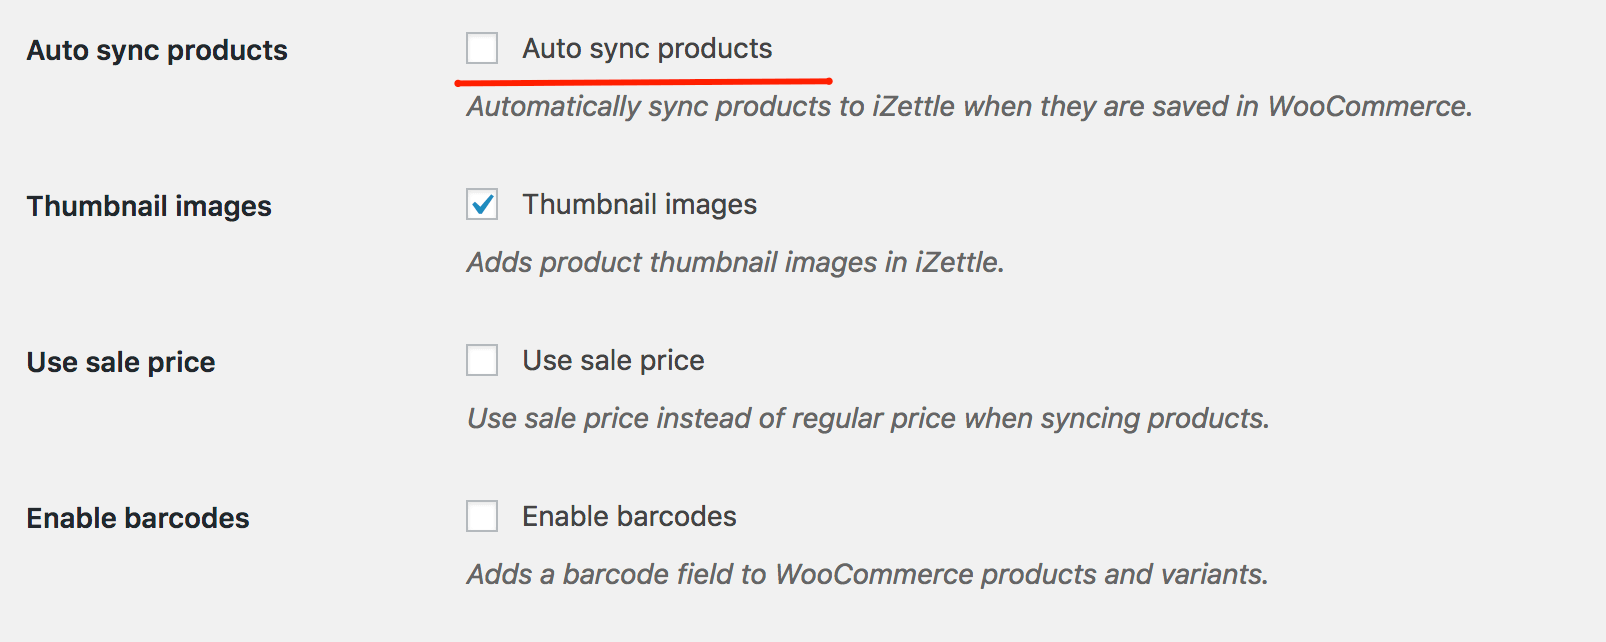
There is also the option to enable barcode fields for all products and variants in WooCommerce. If you enable this, you will be able to enter a barcode / EAN number for your WooCommerce products, and then they will be scannable from the iZettle app. If you want to, you can press the ”Generate barcodes for all WooCommerce products” button, and the plugin will create ”fake” EAN-13 numbers for all your WooCommerce products. You still have to print the barcodes yourself, but we recommend ”WooCommerce DYMO Print” if you have a label printer from DYMO. https://wordpress.org/plugins/woocommerce-dymo-print/
Keeping inventory stock in sync
The plugin is able to keep your WooCommerce and iZettle products stock levels in sync. You can choose to pull inventory from iZettle, push inventory to iZettle, or both.
To be able to use the inventory module, you first have to enable it from the plugin settings page under the ”General” tab. Simply check the ”Inventory” checkbox under modules.
If ”Pull inventory” is enabled, a products stock quantity will be fetched from iZettle every time the product is added to a customers cart. The stock level will also be fetched from iZettle when an admin views the product in wp-admin.
If ”Push inventory” is enabled, a products stock quantity will be pushed to iZettle as soon as it changes in WooCommerce. This can be when a product is ordered or when you manually increase the stock level from the products edit page, or when a product is refunded. It can even be triggered from other plugins that manipulate WooCommerce product stock.
Övriga tjänster
-
Utveckla er e-handel
Vi bygger allt från specialplugins till premium e-handelsplatser
-
Premium hosting
Med modern serverstruktur maxar du din e-handels hastighet
-
Komplexa integrationsflöden
Wetail iPaas aggregerar data och hanterar komplexa integrationer mellan flera olika system