
Testa Wetail Shipping riskfritt!
Modern frakttjänst. Designad för WooCommerce.
Såhär installerar du E-conomic
1. In the General section, add the license key that you will receive from us in a separate email (it is still a manual process for us to register the licenses, but it we try to check as often as possible). After that, press Save changes, and then proceed by pressing Login. You will now be directed to a log in screen in E-conomics. Please log in and allow the app to connect. When this all is done, press the Fetch settings from E-conomic button and the integration will poupulate some of the fields used in the next steps.

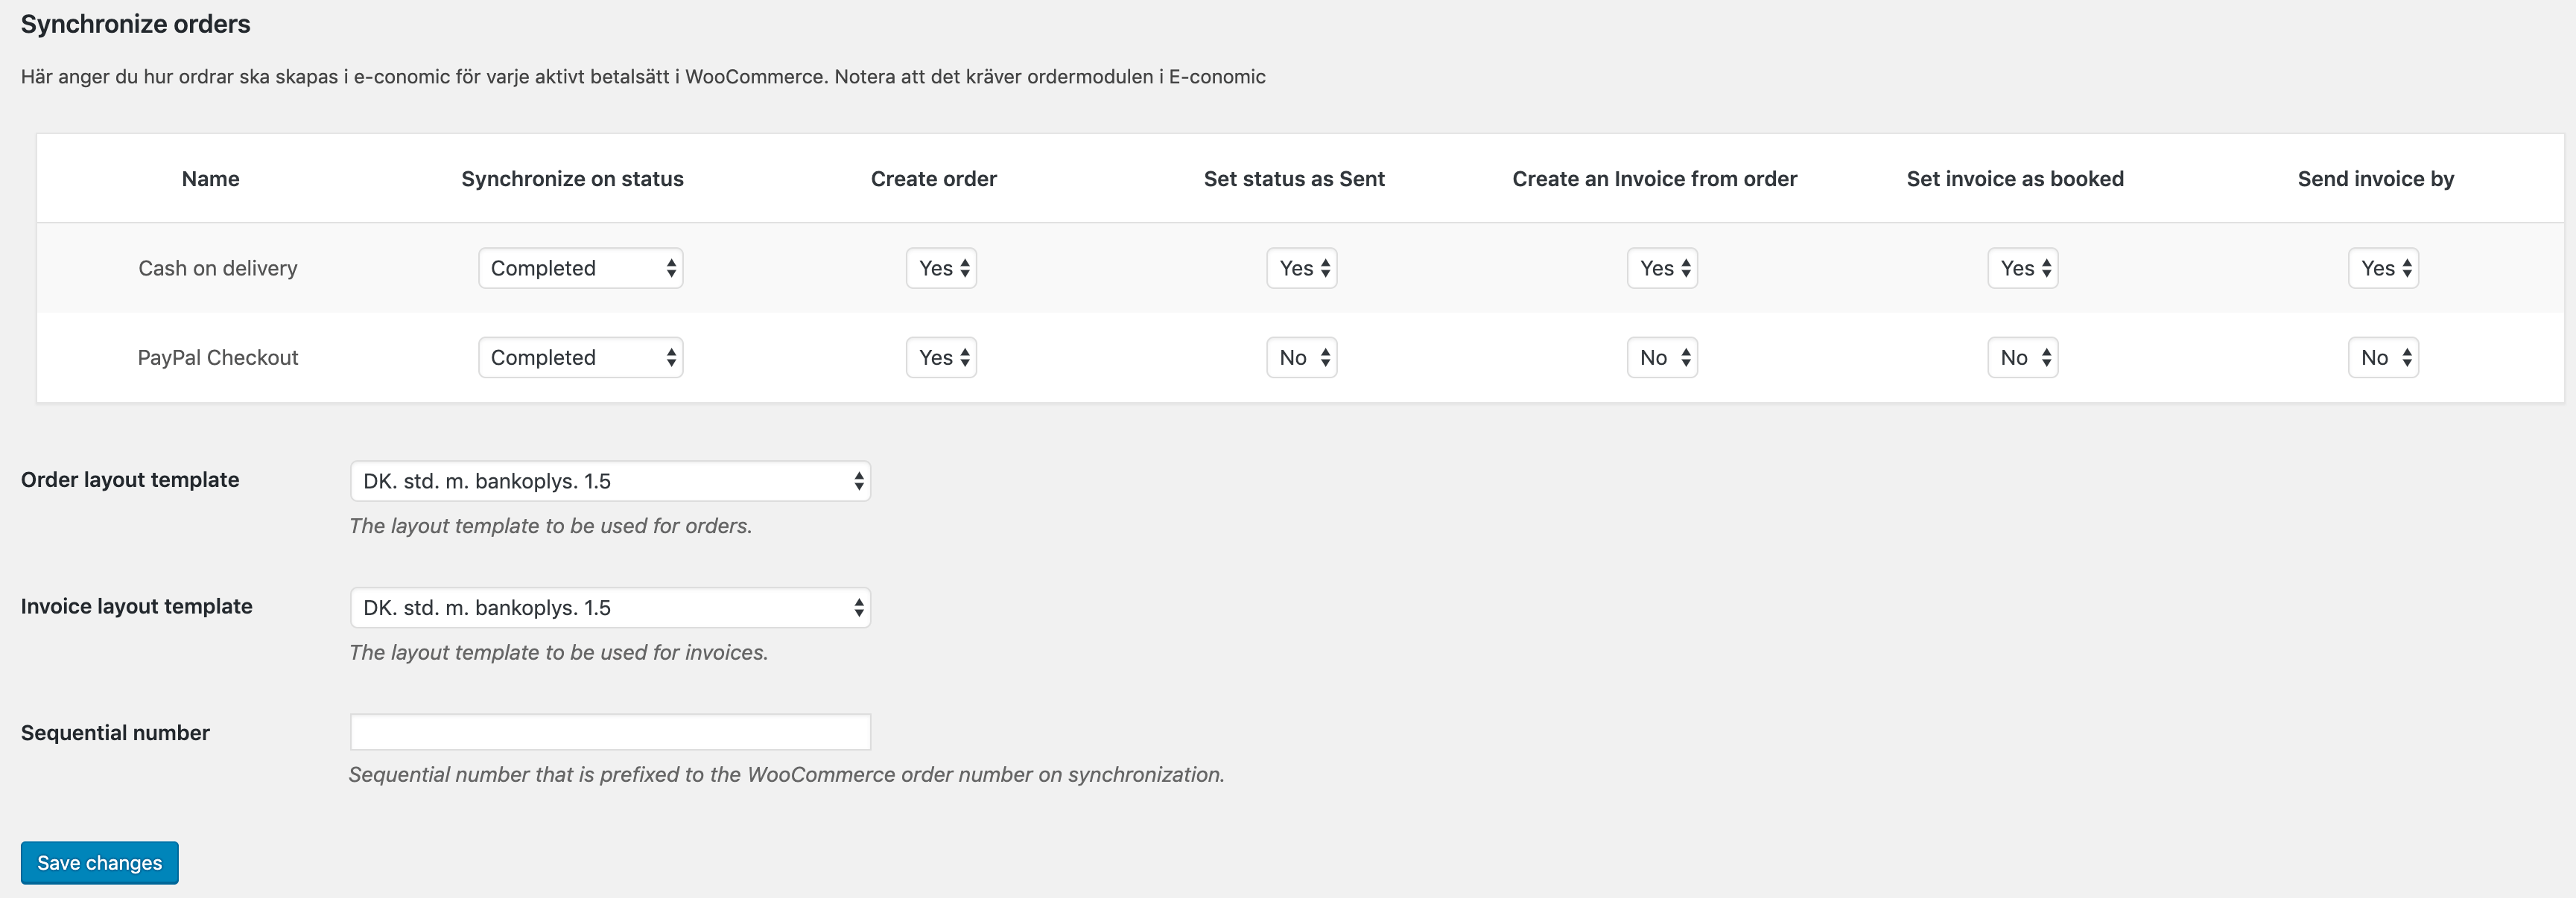
2. The new next section, Synchronization, will set up the desired flow and automation. Basically you map your payment options it’s own specified flow. The example below shows the case where automatic synchronization occurs for both payment options on the status Completed, but you can also choose to unset one or more of the payment options and instead do a manual synchronization from the Orders list view. Here you can also set which e-conomics templates you want to use for your orders and/or invoices. Last but not least, if you need to create a gap to the manually created order series you can do this here. This way you can for example use multiple stores and still know from which store each order originates.
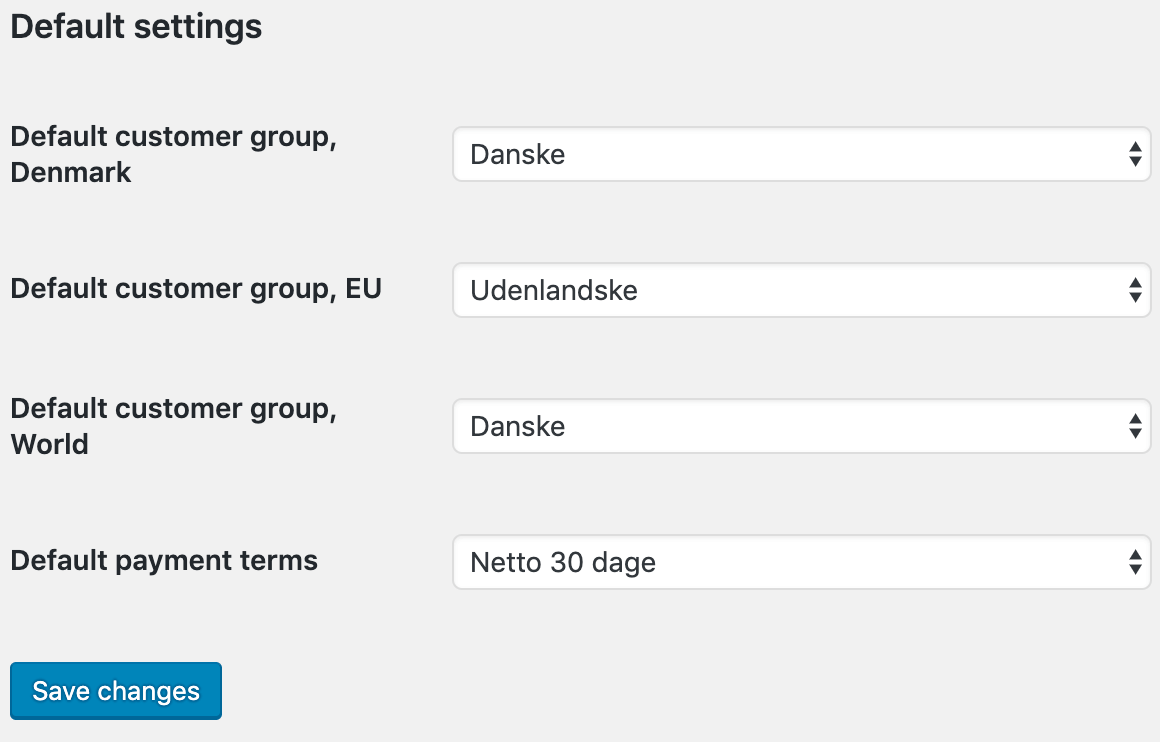
3. In the Customer settings sections you need to map the different customer types to the types setup in e-conomics. This is also where you select the default payment terms for invoices.
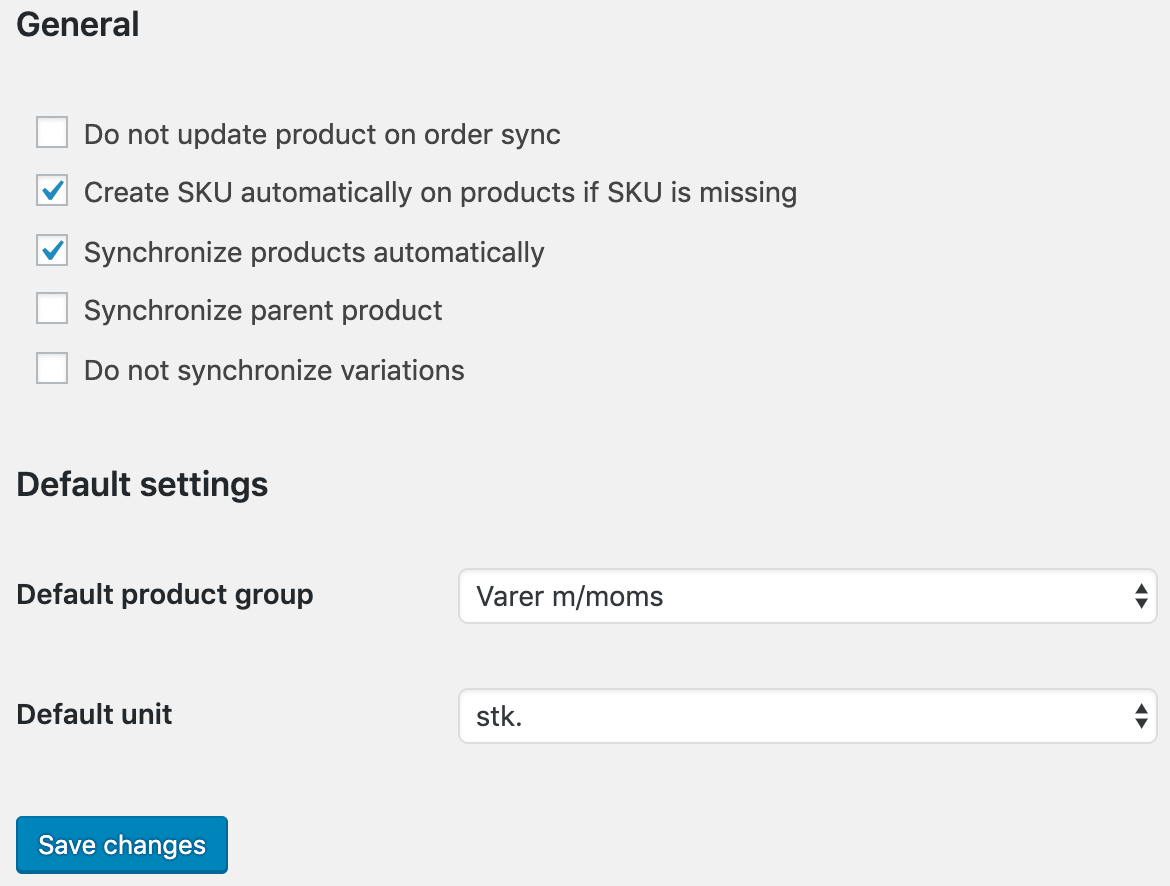
4. The last section, Product settings, provides some options regarding how or if products should be synced as well as some needed mappings to e-conomic defaults.
Övriga tjänster
-
Utveckla er e-handel
Vi bygger allt från specialplugins till premium e-handelsplatser
-
Premium hosting
Med modern serverstruktur maxar du din e-handels hastighet
-
Komplexa integrationsflöden
Wetail iPaas aggregerar data och hanterar komplexa integrationer mellan flera olika system